SmartGateway Configuration - Adding New Users
SmartGateway Configuration Manual
Add a new user to the OneConnect Cloud Platform
Only administrator users with the appropriate permissions can add new users to the OneConnect platform.
To access the OneConnect Cloud platform, use the default administrator account that is created automatically. Please contact the Onibex team to obtain the password.
User: poc@onibex.com
Once logged into the One Connect Cloud platform, navigate to the upper-left corner and click the menu button (the icon with three horizontal lines).
When the sidebar is expanded, go to the "Users" option, select it, and then click the "ADD" button in the upper-right corner.
The process of adding a new user requires the following information:
- First name
- Last name
- Email
- Phone number
- Company
- Country
Fill all the fields and click "ADD".
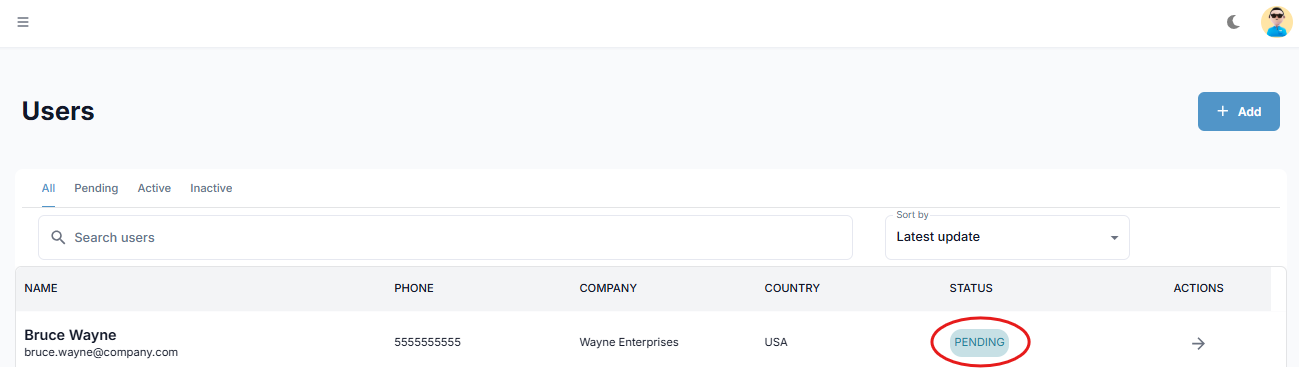
The new user will appear in the "USERS" section with a "PENDING" status, meaning the user must be approved in order to be activated.
To activate the user, you must click ACTIONS.
Click ACCEPT on the top right side of the screen to activate the new user.
Your new user has been successfully approved. You can verify the status change to "ACTIVE" in the "USERS" section.
Related Articles
SmartGateway Configuration - Creating SAP Connectors
SmartGateway Configuration Manual Creating SAP Connectors on the SmartGateway Platform Note Each account and user will have the ability to create SAP connectors in their designated environment. The following will show how a SAP Connector is created ...SmartGateway Configuration - User Groups
Requirements Administrator account credentials. The email address of the user who will receive access. Procedure Log in to your administrator account. In the User Dashboard, locate the user who created the SAP Link and click the corresponding arrow ...SmartGateway Helm Chart - Azure
SmartGateway Helm Chart — Quick Deployment Guide (Multi-Cloud) This Helm Chart deploys SmartGateway on Kubernetes (microservices + MySQL + required configuration). Multi-Cloud Support Optimized for: AKS (Azure). Before you start (requirements) You ...SmartGateway Helm Chart - AWS
SmartGateway Helm Chart — Quick Deployment Guide (Multi-Cloud) This Helm Chart deploys SmartGateway on Kubernetes (microservices + MySQL + required configuration). Multi-Cloud Support Optimized for: EKS (AWS). Before you start (requirements) You ...Azure - OneConnect Deployment and Configuration
One Connect Platform: Kubernetes Azure Deployment Manual for Private Network This manual outlines the steps required to deploy the One Connect system on a Kubernetes cluster within a Private Network (meaning the OneConnect Platform will not be ...